Avec une réponse comme ça, c’est plus qu’envisageable je dirais !
Frostpunk est repoussé au 6 Octobre
As a company and the people who bring it to life we strongly believe in crowdfunding and its beneficial influence on the final game, as well as the creative freedom it entails. This is why being able to communicate with Kickstarter on the topic of our campaign is something we cherish.
2 « J'aime »
En-tête mise à jour.
1 « J'aime »
c’est quoi les nouveautés dans leurs écosystème ? un genre de pledge manager ?
Ils pourraient carrément se positionner la dessus,
Faudrait pas qu’ils le rendent obligatoire par contre, certains comme AR qui ont leur propre PM n’y trouveraient pas forcément leur compte.
Retour détaillé d’un playtest sur BGG
Résumé
Derek Allgire
Frostpunk: The Board Game
Unofficial Guide to the Frostland
Hello there and welcome to version 2 of my overview of Frostpunk The Board Game. Last time I posted something like this it was based on my observations rather first hand experience, but having play tested the game last weekend and having time to review the gameplay materials more thoroughly, I can give you all much more accurate information than before.
Before I dive into it however, a few caveats. I intend to avoid spoilers regarding specific scenarios, event cards, etc. because I want you to be able to explore the game and discover this information for yourself. One of the most compelling aspects of this game, at least for me, has always been the narrative and sense of discovery and I would hate to ruin that for anyone. Secondly, yes I do have permission from the creators to discuss what I know with you, on the condition that I don’t spoil too much. In fact, they specifically requested I share my thoughts and what I’ve learned about the game here on BoardGameGeek.
Lastly, everything you see or read about below is subject to change. The designers are running playtests and are very much taking community feedback into account. For example, as I will be discussing in depth later, unlockable technologies were added to the game based on feedback from the community, though they work a bit different than they do in the video game. In any case, I can’t stress enough how important your feedback is and I encourage you to ask questions or share your opinions and ideas.
Actions
Build/Dismantle: This action allows you to build and/or dismantle up to 3 buildings. Buildings with workers on them cannot be dismantled. Build/Dismantle is always considered a warm action.
Snow Removal: This action allows you to reveal snow tiles scattered around your settlement. This will often uncover resources for you to collection but will also allow you to build on those tiles. This is ALWAYS considered a cold action, meaning unless you have an Automaton perform it, your citizen will get sick.
Building Action: Most constructed buildings will allow you to perform an action by sending a worker or engineer to the tile. Small buildings, those taking up a single slot, only allow 1 worker to perform an action there each round, while large buildings, those taking up two slots, allow 2 workers to perform actions there.
Resource Piles: Resource piles, such as coal, wood or Steam Cores, can be gathered from directly. When you perform this action, you gain up to 2 resources from that pile. This is considered a cold action unless the ring where the resource pile is location is heated.
Expedition: Once the Beacon has been constructed, you can send a Worker team out into the Frostland to explore and hopefully find resources or other people to bring back to your settlement. Initially you can only deploy one Scout team at a time, but if you upgrade the Beacon, it can support a second team.
Cold vs Heated Action: It is worth mentioning that one of the ways your citizens can get sick is by performing a ‘cold’ action. Snow Removal is always a cold action, and both Build/Dismantle and Expedition are considered ‹ heated ›. Actions performed by sending your citizen to a building or a resource pile will largely depend on the type of building and the state of the generator. When the generator is off, all of these actions are considered cold, but when turned on Red Buildings are automatically considered heated. From there, the more coal you spend, the more building types and rings around the generator will become heated.
Buildings
There are additional buildings besides those listed below that are tied to specific Laws and Scenarios but I won’t be including those here so that you have something explore for yourself.
Generator – Wood Cost: Free – Size: Small – Heat Level: Red – Engineer Required
Placing an Engineer on the Generator allows you to remove up to 5 Malfunction cubes from the Malfunction track.
Cookhouse – Wood Cost: Free – Size: Small – Heat Level: Orange
The Cookhouse allows you to spend food in order to decrease Discontent or increase Hope. This does not reduce hunger, however.
Platform – Wood Cost: Free – Size: Small – Heat Level: Yellow – Engineer Required
Place an Engineer on the Platform allows you to pass a Law.
Gathering Post – Wood Cost: 1 – Size: Small – Heat Level: Yellow/Red
Gathering Posts allow workers to more efficiently gather from resource piles. Instead of drawing 2 resources from a single pile, you draw 1 resource from every pile on every adjacent hex, including the one your Gathering Post is built on. Besides the efficiently, it’s much easier to heat Gathering Posts than the snow surrounding your Generator especially as approach the outer ring and the temperatures start to drop.
Medic Post – Wood Cost: 1 – Size: Small – Heat Level: Yellow/Red
Medic Post allow you to cure a number of sick citizens, either 3 or 4 depending on whether it is upgraded.
Hunter’s Hut – Wood Cost: 1 – Size: Small – Heat Level: Yellow/Orange
Hunter’s Hut allow you to gather food, either 5 or 8 depending on whether it is upgraded. An important note with this building is it does require heat unlike the video game, however it has an additional passive effect that triggers during the Weather Phase. Depending on how many of these buildings you have, you will gain a certain amount of food regardless of whether any workers used these buildings during the Action Phase.
Tent – Wood Cost: 2 – Size: Small – Heat Level: Yellow
Tents are the most basic of shelters that allow you to house your citizens at night. They can be difficult to keep warm later as the temperatures continue to drop, and eventually they will become insufficient no matter what you do. Still, you can build 3 Tents for the cost of 2 Bunkhouses so early game you may find yourself constructing several of these in an effort to keep your people out of the cold. Just know that they will need to be replaced eventually and unlike the video game they cannot be upgraded into Bunkhouses without a special technology.
Charcoal Kiln – Wood Cost: 2 – Size: Small – Heat Level: Yellow/Red
Charcoal Kilns allow you to convert wood into coal. The exchange rate seems fair, 1 wood for 4 coal (or 1 for 5 if upgraded), however you will have to consider whether you have enough wood to afford this trade.
Sawmill – Wood Cost: 2 – Size: Small – Heat Level: Orange/Red
Sawmills allow you to extract wood from frozen trees. Each time you use this building you will remove one frozen tree from the hex where your Sawmill is constructed in order to gain 3 wood. This means the best place to build them early on is on a tile where you have more frozen trees to harvest. Long term, however, Sawmills can provide an ever better return if they are upgraded, allowing you to harvest a frozen tree from every adjacent hex as well, similar to how Gathering Posts work. This is the only way to access the frozen trees around the edge of the map since you can’t build directly on them.
Workshop – Wood Cost: 2 – Size: Small – Heat Level: Red – Engineer Required
Workshops allow you to perform 1 of several different actions.
• Upgrade 1 building for 1 Steam Core. Tents, Bunkhouses, and Houses cannot be upgraded in this way. Buildings with workers on them cannot be upgraded.
• Build 1 Automaton for 1 Steam Core. This action may be moved to a different building in the future as the developers have been discussing the possibility of adding a factory building for the purpose of constructing Automatons.
• Unlock Tier 4/5 and Research a new technology. At the start of the game, 4 technology cards will be laid out with 2 revealed and 2 hidden. The hidden technologies can be revealed by constructing additional workshops. When you choose one to research, you take the technology token covering either the Tier 4 or Tier 5 buildings, which unlocks those buildings to be constructed, and place it onto the technology you want to research, granting you a bonus for the rest of the game.
Bunkhouse – Wood Cost: 3 – Size: Small – Heat Level: Orange
Bunkhouses function exactly like tents only they have a higher base Heat level and cost more wood. They will also continue to function longer than the tent, but eventually these buildings will also prove insufficient to keep your citizens warm at night. Like the tent, they cannot be upgraded into Houses without a special technology.
Coal Thumper – Wood Cost: 3 – Size: Large – Heat Level: Orange/Red
Coal Thumpers allow you to create a coal pile which other workers can gather from (either directly or via a Gathering Post). This building supports up to two workers and each worker can create 2 coal, or 3 coal once upgraded.
Beacon – Wood Cost: 3 – Size: Large – Heat Level: N/A
Beacons allow you to form Scout teams to go out on expeditions. By default you can only have 1 active expedition at a time, but if the Beacon is upgraded it will allow you to have 2.
House – Wood Cost: 4 – Size: Small – Heat Level: Red
Houses function exactly like bunkhouses and tents only they have a higher base Heat level and cost more wood. Unlike the previous forms of shelter, these will never become obsolete and are also much easier to keep warm at night.
Hothouse – Wood Cost: 4 – Size: Large – Heat Level: Orange/Red
Hothouses are an alternate way to obtain food compared to that of the Hunter’s Hut, but they aren’t strictly better in every situation. Unlike the video game, they don’t require a Steam Core to construct, but still require one to upgrade (like all buildings). However, in terms of resources, a single Hothouse requires 4 times the wood as a Hunter’s Hut while only giving 3 more food per worker. Upgraded, this comparison becomes only 2 more food per worker (but would require twice as many Steam Cores for the Hunter’s Huts). This building does support 2 workers, however, which means it can provide up to 16 food per round, as opposed to two Hunter’s Hut which only would provide 10. Three Hunter’s Hut’s would provide almost as much food (15) for 1 less wood, however it would require an additional worker.
This reminds me of the tradeoff between Coal Mines and Coal Thumpers in the video game. Manpower vs Steam Cores, so you had to decide what was better for you based on your situation. Another thing to consider is the Hothouse is warmer than the Hunter’s Hut which makes it easier to heat. The final tradeoff to consider however, is that Hothouses do not provide passive food during the Weather Phase. This means that while my earlier comparison made it seem like 1 Hothouse was always much better than 2 Hunter’s Huts (if you have a surplus of wood), this isn’t quite so dramatic when you consider that you will usually gain 3-5 food during the Weather Phase for having two Hunter’s Huts, even without using any workers!
Infirmary – Wood Cost: 4 – Size: Large – Heat Level: Orange/Red – Engineer Required
The Infirmary is another building that is generally seen as an improvement over it’s Tier 1 equivalent, the Medic Post, but unlike the video game it’s not always going to be your best choice. Like the Hothouse, in the board game adaption of Frostpunk, Infirmaries they don’t require a Steam Core to construct, but still require one to upgrade (like all buildings). Compared to the Medic Post, Infirmaries only cure 1 more sick Citizen per worker while costing 4 times the wood. If you compare 2 Medic Posts to an Infirmary, you get 2 Wood compared to 4, and 6 cured citizens compared to 8. Unupgraded, the Infirmary is also warmer and therefore easier to heat. Unlike the Hunter’s Hut, there is no passive bonus so if you can afford the wood this tends to be a better long term investment.
Wall Drill – Wood Cost: 5 – Size: Large – Heat Level: Yellow/Red
Wall Drills are a source of infinite wood, however they are quite expensive to get going. First you have to unlock them which takes an Engineer performing an action at the Workshop. Second, they cost 5 wood, which means it would take two worker actions just to begin turning a profit. Third, they are a Yellow Building, yet they must be built in the outer ring, making them increasingly difficult to keep warm without upgrading them. Once upgraded they do provide 1 additional wood per worker which makes the Steam Core investment more valuable than the Coal Mine.
Coal Mine – Wood Cost: 5 – Size: Large – Heat Level: Yellow/Red
Coal Mines are a source of infinite coal, however they are quite expensive to get going. First you have to unlock them which takes an Engineer performing an action at the Workshop. Second, they cost 5 wood, though and when compared to setting up a Coal Thumper and Gathering Posts, this suddenly doesn’t seem so bad. Third, they are a Yellow Building, yet they must be built in the outer ring, making them increasingly difficult to keep warm without upgrading them. Unfortunately, once upgraded they don’t provide any additional resources.
Citizens
Your total population for each type of citizen is tracked separately from the number of pawns you will have. 1-4 workers gives you 1 pawn, 5-9 gives you 2 pawns, 10-15 gives you 3 pawns, etc. When it comes to determining whether you have enough beds for people, you go off of how many pawns you have. When it comes to food, however, you look at your total population.
Workers: Workers make up the bulk of your population and can perform most jobs throughout the settlement, from building structures to clearing snow. Once a Beacon is constructed, they can also be used as scouts to explore the Frostland.
Engineers: Engineers are specialized workers that can perform advanced jobs that ordinary workers cannot such as the Workshop and Medic Post. Buildings marked with a wrench icon in the top left can only be used by Engineers.
Children: Children initially cannot be used in any job, though they can still require food and a warm shelter at night unless you want them to get sick. If a certain law is passed, it may be possible to use Children for basic jobs such as at Gathering posts.
Automatons: Automatons aren’t technically considered ‹ citizens › but I’m putting them here for convenience sake. These are built using Steam Cores and function like workers with a few differences. Firstly, they require you spend 1 coal each round in order to use them. They do not require food and they cannot become sick and therefore do not have to worry about heated buildings or having a bed to sleep in at night. They are not considered engineers and cannot perform advanced jobs nor can they be used as scouts.
Expeditions
:strip_icc()/pic5627967.png)
Once a Beacon is constructed, draw two cards from the A pile and place them next to the board. As an action, workers can form Scout teams and be send off into the Frostland in search of survivors and resources. To do so, place your worker pawn at the bottom of one of these cards. Each card has spaces on them meant to represent the distance between your settlement and that location. Expeditions are moved during the Weather Phase, anywhere from 2 to 4 spaces on the expedition track. Once they reach the end, the card is flipped and you will be presented with a situation and sometimes a choice to make, similar to the video game. Often times you will find survivors, resources, or both and you will have the decision to return with what you have or to keep going.
If you return, put your pawn back in the settlement with all the resources and population you acquired. Then you will draw a card from the B pile and place it over the A card (leaving the bottom space exposed) which you can later explore. Alternative if you press on, you will draw a card from the B pile and immediately place your working on the 1st space on the new card (which puts you one space ahead of where you would normally start if you were to return and set out on a new expedition later), giving you a chance to finish the next card more quickly. Completed B cards will allow you to draw C cards and while completed C cards will always force you to return, they will be replaced by an A card once more.
An upgraded Beacon allows you to deploy a second Expedition and give you three choices instead of two. Another thing to consider is that Workers deployed on an Expedition don’t require shelter at night though they still need to be fed.
Food/Hunger
Food is gathered from Hunter’s Huts and Hothouses by placing workers there during the Action Phase. Additionally, Hunter’s Huts produce food passively during the Weather Phase. Another way that food can be acquired is by sending scouts out into the Frostland in search of resources.
As for how it is consumed, each round you are expected to feed either children, engineers, or workers. (I suspect this was done to give you a chance to get your food production up since you tend to have less children and more workers but I digress.) During the Hunger Phase you will first pay off any ‘Hunger’, that is to say food shortages from the previous round. If any Hunger remains you will gain 1 Discontent and possibly lose 1 or more population to starvation (which can in turn lead to loss of Hope).
Then you will feed as many of your citizens of the appropriate type as you can. Any leftover citizens that cannot be fed will increase your Hunger which must be paid off by the following Hunger Phase to avoid the dire consequences outlined above. If you are having trouble keeping people fed, there may be laws that can assist you. Likewise if you have a surplus of food, consider investing some in the Cookhouse to raise Hope or reduce discontent, or there may be laws that allow you to spend extra food for one purpose or another.
Hope/Discontent
:strip_icc()/pic5627962.png)
Hope and discontent work similar to how it does in the video game. Too much discontent, or too little hope, will cause you to be exiled or may lead to a collapse in your settlement’s society. In some ways, these tracks have been simplified by a simple rating of 0-5. There is an interesting change that was added however that allow these tracks to do more to describe the mood of your settlement beyond these two specific aspects.
Whenever Hope or Discontent are increased, an inactive token is drawn from the appropriate bag and placed into the track. Alternatively, you may ‘activate’ (flip) 1 of your existing tokens. Whenever Hope or Discontent are decreased, an active token is deactivated or an inactive token is returned to the bag. Each token has an active and inactive side.
For Hope you will find either:
• Motivation
• Care
• Justice
And for Discontent, your will see:
• Apathy
• Greed
• Anger
Sometimes a specific mood is mentioned rather than simply Hope or Discontent. For example, if a card says +1 Justice, you will first draw one Hope token from the bag and then if Justice is present on the track you will flip to activate it. Some other affects may specifically allow you to activate or deactivate these tokens.
These moods can be triggered by different cards, so it is important to try and keep your Hope tokens active and your Discontent tokens inactive, though this is easier said than done.
Laws
:strip_icc()/pic5627974.png)
Laws are passed during the Action Phase by placing an Engineer on the platform. Laws has a variety of affects, from increasing/decreasing Hope/Discontent levels, to providing you with an ongoing bonus or ability that can be used later. Some laws are specific you’re your scenario and some are chosen at random. In additional, certain laws are mutually exclusive so you will have to choose carefully. Be advised you are also limited to passing a total of 4 laws during the course of the game and once chosen they cannot be changed.
Passing laws can also have consequences later by adding one of two (chosen at random) cards into your dusk deck. Additionally, implementing either the New Order or New Faith laws will unlock new buildings and abilities but can also lead to unforeseen repercussions.
Object of the Game
Your specific goals will largely depend on the scenario you are playing but above all else you must survive. To that end there are several loss conditions you must avoid.
• Hope level falls to 0. There are many ways you can lose hope, including passing certain Laws, Morning cards, Dusk cards, and the death of Citizens.
• Discontent level rises to 5. There are many ways you can gain discontent, including passing certain Laws, Morning cards, and Dusk cards.
• The Generator explodes. This can occur if too many malfunctions cubes build up without being properly managed. Engineers can be used to remove malfunction cubes from the generator.
Operating the Generator
Each round the Generator will be turned off and coal must be spent to increase its Heat Level. Without turning on the generator, all building actions and gathering from resource piles will be considered cold. Turning on the generator or increasing the heat level can be done at any time during the Action Phase and does not require a worker, only that the appropriate amount of coal is spent. Normally, each space you move the heat token costs 1 coal, though as the temperature drops the initial cost to turn on the generator will increase.
There are three heat range tiles along the heat track the indicate when each ring within the settlement is considered heated, as well as when buildings of a certain color are heated. When your heat token is on top of one of these three tiles, buildings and resource piles in that ring become heated. When your heat token moves past a tile, flip it, and it will indicate that orange or yellow buildings are now heated as well. Early in the game these tiles will be close together and heating the entire settlement will be rather affordable, but later in the game as it becomes colder it will prove increasingly difficult.
Another aspect to consider is that the more coal you spend powering the generator, the more malfunction cubes will be added to the generator during the Generator Phase. Additionally, the position of the heat token relatively to the heat ring tiles make cause citizens to become sick or gravely ill.
Resources
Wood: Wood is used for constructing buildings in the settlement and can be gathered several ways. Citizens can gather wood directly from a resource pile, indirectly from resource piles using Gathering Posts, or from frozen trees using Sawmills and Wall Drills.
Coal: Coal is required to power the generator and also for fueling automatons. Citizens can gather directly from a resource pile, indirectly from resource piles using Gathering Posts, or from coal deposits along the edge of the board using Coal Mines.
Steam Cores: Steam Cores are a rare and valuable resource used for constructing Automatons and upgrading buildings. They can be gathered directly from resource piles or indirectly from resource piles using Gathering Posts. There won’t be many of them to find in the settlement however, so exploring the Frostland will be the primary way of gathering these.
Rounds
:strip_icc()/pic5627971.png)
A round in Frostpunk The Board Game is broken up into several phases.
Morning Phase
• Move Round marker
• Draw and resolve a Morning card
Generator Phase
• Place Cold Cubes into the Generator cube tower based on the Heat track.
• Place any Cold Cubes that fall out of the Generator onto the Malfunction track
o For the TTS version of Frostpunk, you will instead place these Cold Cubes into a bag and then roll 2d8 and place Cold Cubes from the bag onto the track equal to the lower of the two numbers rolled or until the bag is empty.
• Reset the Heat token position
Weather Phase
:strip_icc()/pic5627952.png)
• Draw a Weather card
• Progress Storm & Weather tokens
• Collect Food
• Progress Scouts on Expedition cards
Preparation Phase
• Resolve Sick Citizens tokens
• Update Citizen Pawns number
Action Phase
• Place Citizen Pawns on Used Citizen tokens
• Perform Actions
Dusk Phase
• Draw & resolve a Dusk Card
Hunger Phase
• Reduce Hunger using Food (as much as possible)
• Resolve & reset Hunger token
• Feed Citizens based on Round number
Night Phase
• Return all Citizen Pawns to your Supply
• Place Citizen Pawns in heated Shelters
• Every Homeless Citizen gets sick
• Add sick based on the Heat token Position
Sickness
Sickness can be obtained in a variety of ways.
• A citizen pawn performs a cold action (snow removal or unheated building/resource pile).
• A citizen pawn does not have a heated shelter at night.
• Some Dusk cards may cause citizens to become sick.
• The distance between heat tokens on the generator track.
• Sometimes survivors found in the Frostland will already be sick.
• Sickness can spread from existing sick citizens.
Sickness can be cured by placing an Engineer in a Medical Post or Infirmary during the Action Phase. Some laws may grant you bonuses or give you additional ways to cure people. Unlike in the video game, citizens are cured instantly and do not have the spend time ‘recovering’. Additionally, working while sick is not normally an issue, but if too many people end up sick it will cause you to lose access to 1 or more pawns.
If too many sick citizens go untreated for too long, it can cause serious problems for your settlement. Depending on how many citizens of each type are sick, it may cause more citizens to become ill or even worse, it could lead to citizens becoming gravely ill. This is represented on the sickness track by flipping over the marker for the type of citizen that has become gravely ill. If this token is flipped a second time, the gravely ill citizen will die.
Society Cards
:strip_icc()/pic5627966.png)
A Society Card is randomly drawn at the start of the game which will serve to set the stage for events leading up to the start of the game. It will determine your starting population, resources, hope, and discontent. This is not the same as your Scenario cards.
1 « J'aime »
Ca a l’air trop trop bien…
1 « J'aime »
Les dernières MàJ sur la page KS
Harsh weather, hungry citizens, and sparse resources but you need to do what it takes to protect the last city on earth – your city.
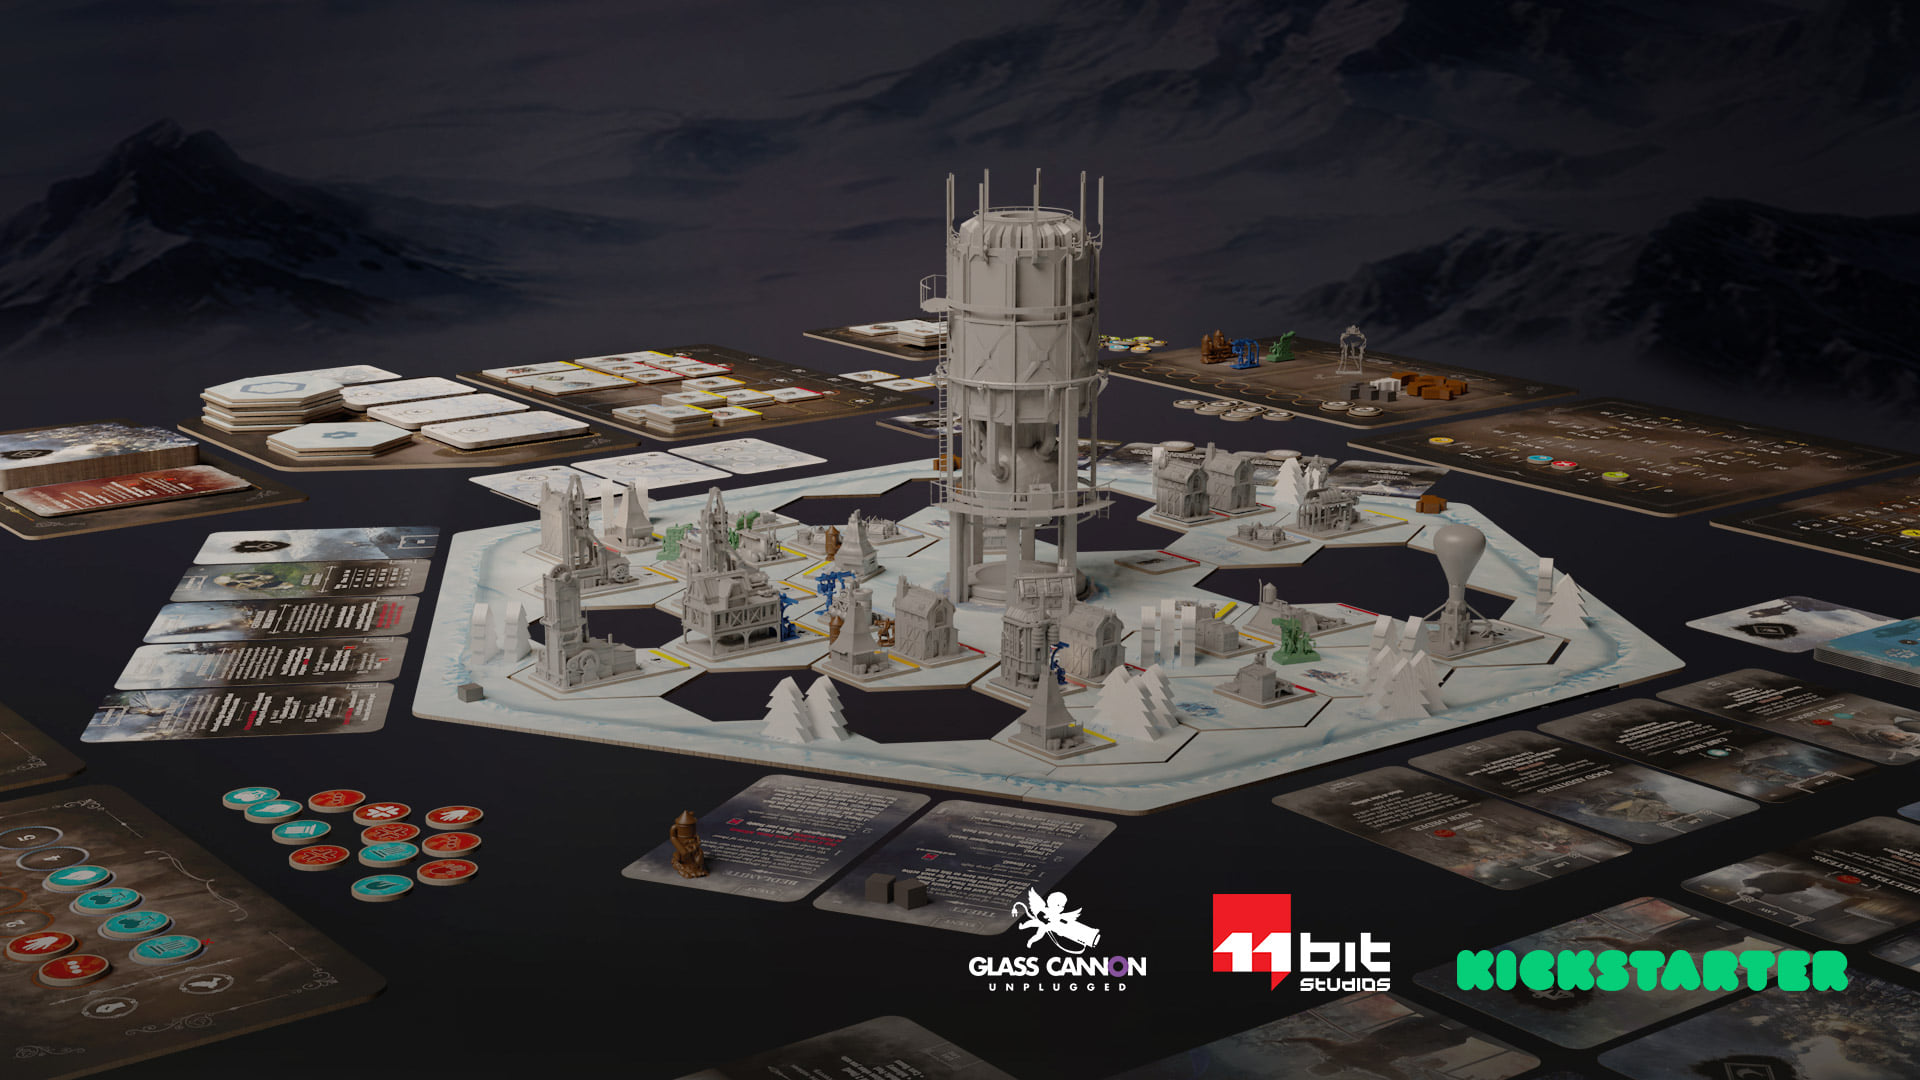
We updated the visuals for the entire game and we’d love to hear some feedback from you!
8 « J'aime »
J’ai pas tout lu la review… en résumé?
En gros, inscris toi pour été informé du démarrage de la campagne 

Alors pour info, le jeu vidéo est disponible dans le Xbox pass ultimate (l’abo pour jouer aux jeux).
Il faut que je teste ça. On sait si ce sera proche du JV ? Pour savoir si, si le jeu me plait ça vaut le coup de prendre le KS. Et si un retour sur le JV peut être intéressant pour vous à l’occasion.
J’espère que ce n’est pas comme le jeu vidéo. J’aurais alors quelques craintes quant à la quantité de micro-management à gérer pour reproduire les événements qui s’abattent sur la colonie. Le jeu est pas mal, mais une fois que t’as compris quelle stratégie adopter pour optimiser le camp et sa production d’énergie, il n’y a plus vraiment d’intérêt.
Je crois que c’est le même designer que Nemesis, je perçois le même aspect cinématographique avec les différents ressorts narratifs entretenus par le tirage de cartes, mais au final je ne vois pas trop la plus-value par rapport à la dimension semi-coopérative offerte par Nemesis. Si les règles sont trop fournies, je passerai sûrement mon tour.
Après les semi-échecs de ‹ Divide et Impera › et ‹ Steamwatchers ›, il sera intéressant de voir si ce sont les univers post-apocalyptiques froids qui portent la poisse ou pas.
1 « J'aime »
La VF est confirmée  Ils peuvent me compter parmi les pledgeurs de première heure.
4 « J'aime »
Y a t il une source pour cette éventuelle VF?
Serait ce pendant la campagne ou bien serait ce une localisation future?
Merci.

Apparemment le gros bâtiment du milieu (« le générateur ») fonctionnerait un peu comme la tour du jeu Amerigo .
C’est-à-dire pour les incultes ? 
3 « J'aime »
Et bien, la tour a Amerigo sert à déterminer les ressources disponibles et leur nombres a chaque tour. En gros, on mettait des cubes de couleur dedans par le dessus (comme on ferait avec une tour à dés) sauf que tous le cubes ne ressortent pas en bas, il y a a l intérieur de la tour des « pièges » qui vont bloquer certains cubes et en libèrer d autres bloqués lors de tour précédent. C est assez sympa car, du coup, tous les tours sont différents, tu pouvais te retrouver avec peu de ressources ou trop d une couleurs. Ou encore ne pas avoir d une ressource à ce tour ci.
4 « J'aime »
C’est un peu comme un sac au final mais c’est intéressant