Bonjour,
Update #70 :
Welcome to the Hunter Series, Seekers!
As you’ve probably guessed, this series is all about the hunters you’ll be playing as in Horizon Zero Dawn™: The Board Game. And where better to start than with the ones from the core set?
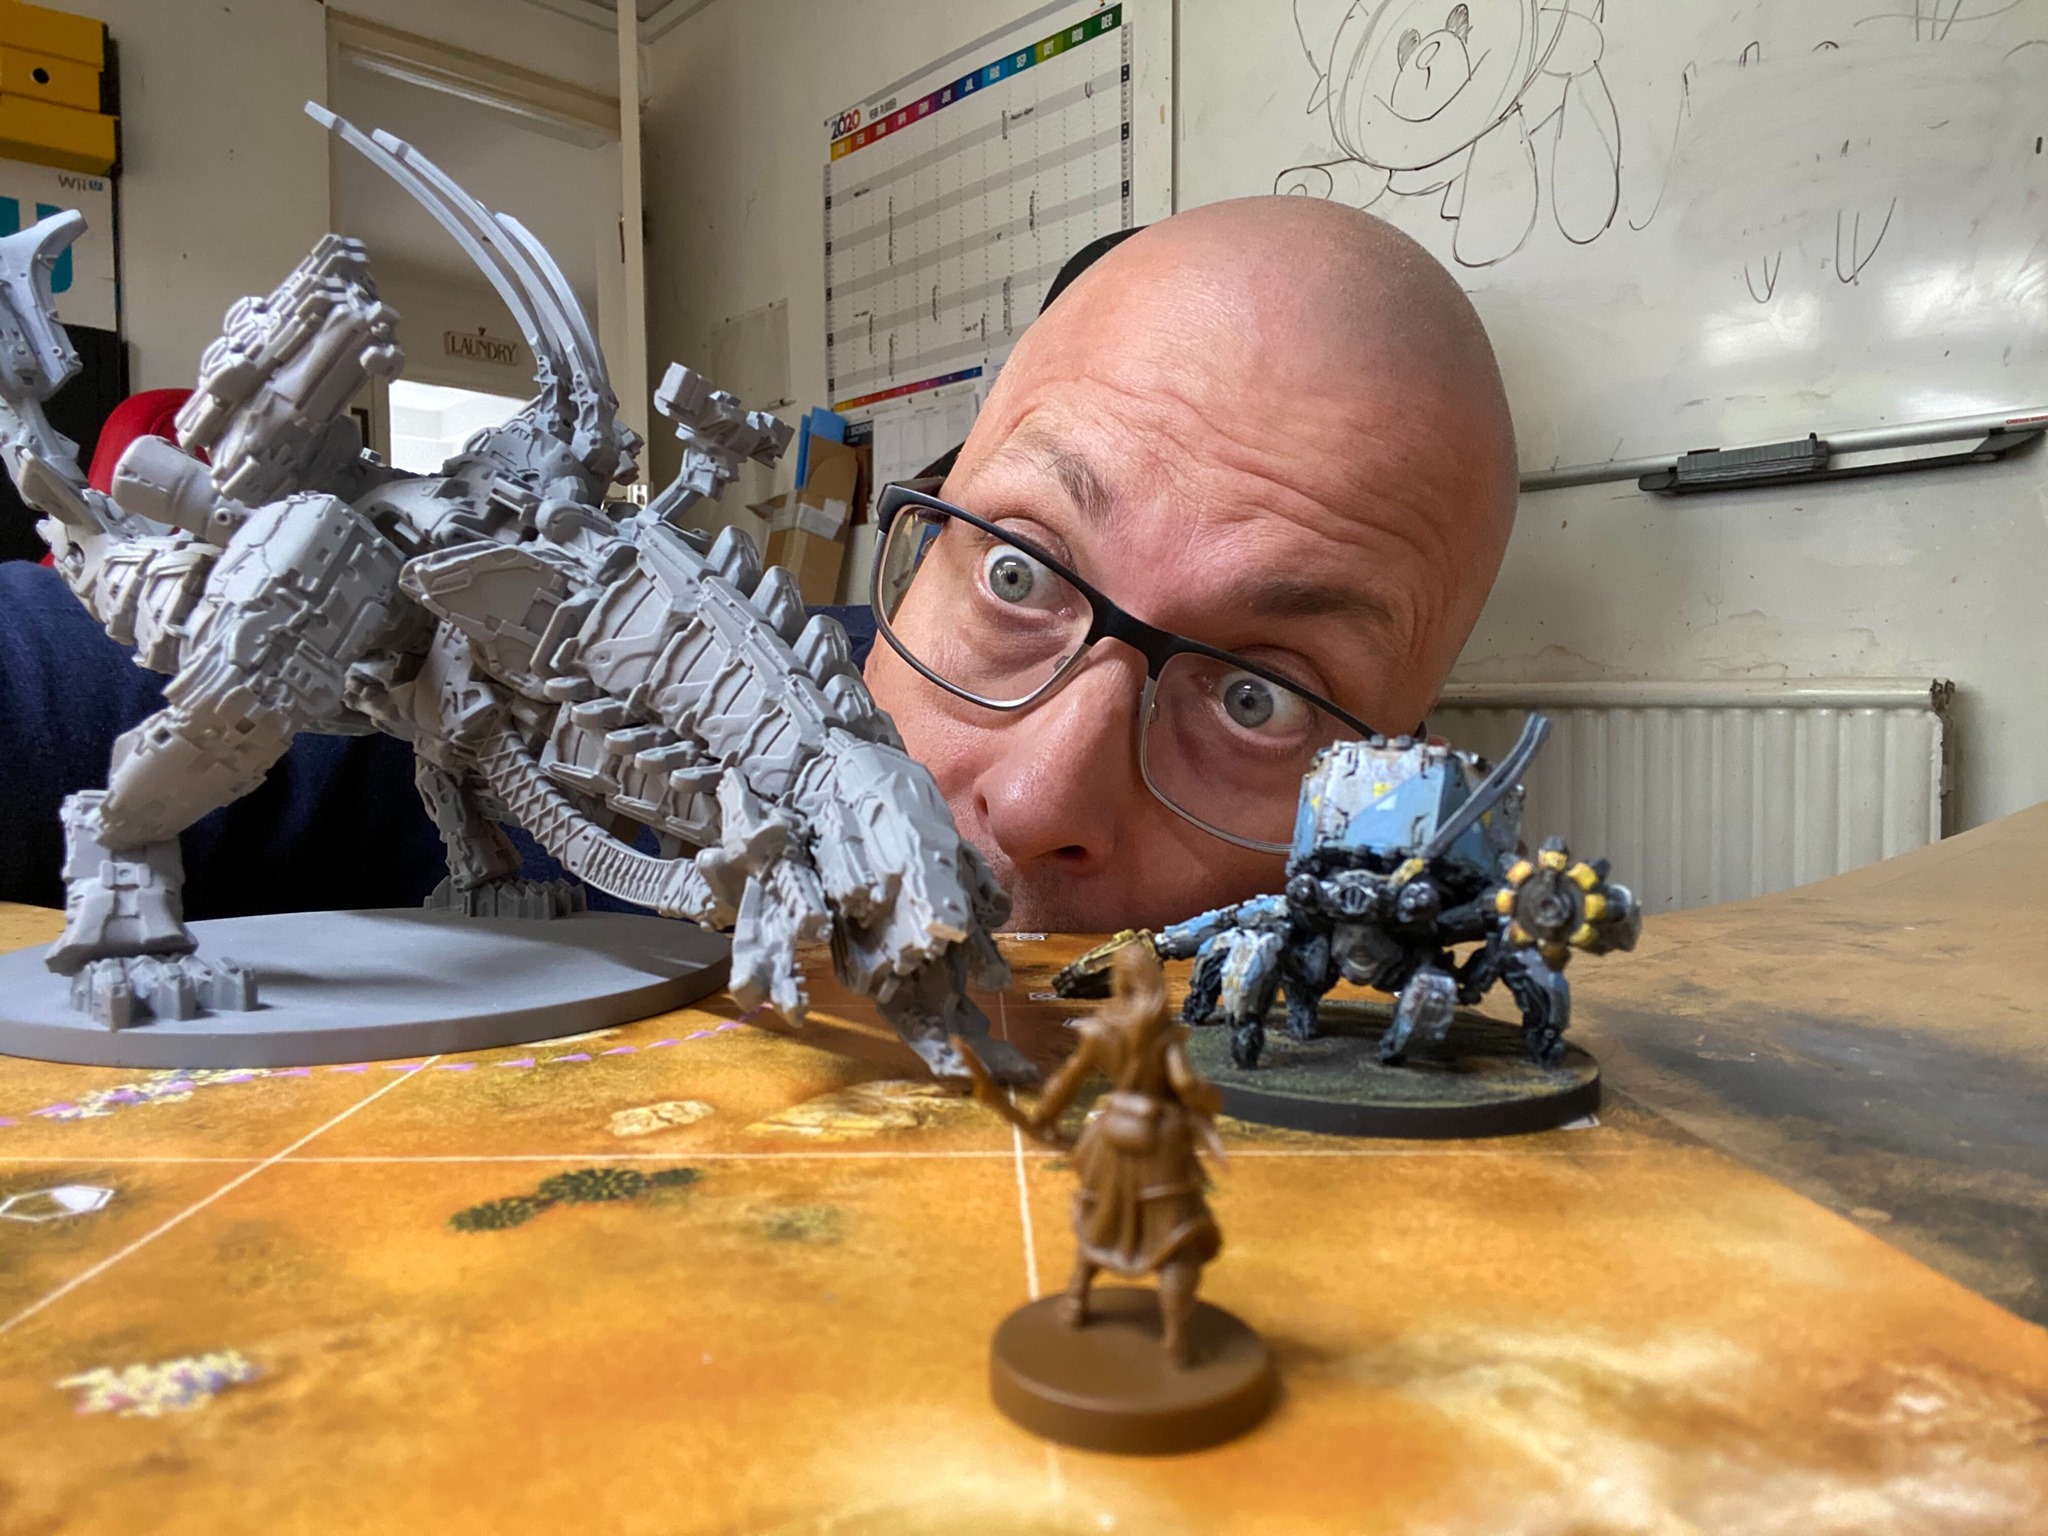
To kick us off, we’re back with lead developer Steve (yes, the same Steve from the infamous photo) to talk through what’s and why’s of how those hunters work on the tabletop.
Fledgling Beginnings - Core Hunters in Horizon Zero Dawn™: The Board Game
By Steve Margetson
Throughout Aloy’s adventures in the video game, she encounters people from a variety of tribal backgrounds. Originally hailing from the Nora Territory, she meets the stoic Oseram, noble Carja, and the mysterious Banuk on her travels.
Following Aloy’s adventures, the Hunters Lodge decides to open its doors, allowing members from any tribe the chance to prove themselves to the Lodge. This gave the ideal background for the board game: four hunters, one from each tribe, each attempting to gain glory with the Lodge.
What Makes Up A Hunter?
Before we dig in, let’s take a look at the gameplay elements that make up a hunter. Because we wanted to keep the core hunters distinct, you’ll notice the word ‘unique’ comes up a lot:
-
Hunter Profile Card . Here is where you’ll find your hunter’s unique special rule.
-
Action Deck. Each hunter has a unique deck filled with ammunition, ability, and interrupt cards.
-
Starting Equipment . Each hunter begins the game with unique starting equipment, such as weapons and armour.
-
Skill Tree Card . As you play, you’ll have the opportunity to upgrade your hunter based on the options in their skill tree.
-
Upgrade Cards . When you use your skill tree to upgrade your hunter, you’ll get upgrade cards to add to your hunter’s action deck.
Tribes and Archetypes
As I mentioned earlier, we knew from an early stage we wanted to include one hunter from each of the four tribes: Nora, Carja, Oseram, and Banuk.
Not only would that tie in with the background of four hunters seeking glory with the Lodge, it would also help to make each hunter in the core box—here comes that word again!—unique.
So, with the tribes locked in, we started thinking about gameplay archetypes we could use and how they might apply to each hunter.
Ultimately, we landed on the following archetypes: the flexible all-rounder, the fragile damage dealer, highly-durable tank, and the risk-reward hunter that uses an alternate resource.
By using these archetypes, we opened up a variety of simple and effective playstyle choices that new players could quickly understand when playing for the first time.
Next up, it was time for us to think about how to apply those archetypes to the hunters in a way that would make sense for the video game.
Nora Marksman
The Nora Marksman was the first hunter we created. Equipped with a bow and a spear, their playstyle is mixed; they can attack from range, but also drive a swift spear when an enemy closes in.
As you’ve probably guessed, they’re our flexible all-rounder. And as you’ve also probably guessed, we chose the Nora for this archetype because their adaptability mirrors a lot of people’s experiences of playing Aloy.
Having the Marksman as our first hunter—and making them the all-rounder—set the reference point for the rest of the hunters. The Marksman’s mixed playstyle means they sit between the other hunters and their more focused playstyles.
Still, although they became our reference point, it was important for the Marksman to have some unique elements connected to their tribe.
For example, the Nora excel at destroying components and harvesting resources.
To represent this in the board game, the Marksman is able to reroll dice when targeting components with ranged attacks, making them much more effective at removing components than the other hunters in the core game.
As another example, ‘Precision Strike’, one of the cards in their deck, allows them to ignore the armour of their target when attacking a component.
Carja Warrior
To us, it made sense for the Carja Warrior to be our fragile damage dealer. What they lack in durability, they make up for with higher damage and interactions with glory, representing the nobility of their tribe.
So: high damage, minimal protection. In other words: the smallest starting deck and the worst armour, made up for with some seriously powerful attacks.
To keep the Warrior distinct from the Marksman, the Warrior focuses on melee rather than ranged damage.
For that reason, the Warrior is best at dispatching enemies with powerful melee attacks, while their limited ranged attacks involve using their sling to throw freeze bombs. The bombs apply the freeze condition, letting the hunter ignore their target’s armour the next time the hunter attacks.
In fact, conditions (like freezing) are particularly relevant to the Warrior because they have several card combinations that take advantage of in-game effects.
For example, ‘Follow Up’ lets the Warrior immediately move into the same square as an adversary they applied a condition to, while ‘Blazing Strike’ allows them to deal additional damage to a target suffering a condition.
Not all of their combinations are damage focused, though. Some help to keep the fragile Warrior out of harm’s way. For example, ‘Hit and Run’ lets them sprint to safety after making an attack.
The Warrior’s immense power doesn’t come without downsides, though. As stated, they are the most fragile hunter in the core game.
This is partly due to their hunter deck being two cards smaller than average, but also due to their reliance on multiple card combos. These combos are powerful, but they cause the Carja to eat through their already small deck—putting them at risk of fainting if a player is too reckless!
Oseram Forgesmith
In stark contrast to the nimble Carja, the Oseram are durable and stoic. To represent that in the game, the Oseram Forgesmith has the largest deck of all the hunters.
Naturally, the durability of the Oseram meant the Forgesmith fit nicely into the durable hunter archetype. A melee powerhouse, they’re all about setting opponents on fire and gaining glory for the pleasure.
As you might expect, the Forgesmith has several fire-based attacks. Because their maul will set a target on fire on any critical result, they have a chance to gain glory using even their most basic attack.
Still, the potential to glory from every attack does come at a cost.
Compared to the other hunters, the Oseram has no access to traditional ranged attacks like bows or slings. Instead, they have a tripcaster, allowing them to place traps.
When fired, the tripcaster places traps on the battlefield that are triggered when a foe enters the same square. These do small amounts of damage but, most importantly for the Forgesmith, they set enemies on fire.
Unlike other ranged weapons, though, the tripcaster requires significant forward planning to use. And although the Oseram will earn glory from the resulting fire, the small amounts of damage they deal will often allow other hunters to do the honours of actually dispatching the damaged prey.
Banuk Survivor
The Banuk Survivor was the last of the four hunters to be designed. With them, we decided to look at the possibility of using cards as a new resource. That was exciting because it gave us the chance to explore new ideas within the systems we’d created.
(Plus, we know some players enjoy an element of risk-reward and resource management in their games.)
Specifically, the Survivor allowed us to look at different ways we could use scrapped cards .
Usually, when a card is played it is discarded. Ordinarily, a discarded card can be returned to a hunter’s deck using the craft action.
When a scrapped card is played, it’s placed in a scrap pile. These cards can’t be returned to a hunter’s deck until the end of the encounter. Because they can only be used once in an encounter, scrapped cards often provide powerful effects to account for their single use.
With the Survivor, the concept was a hunter with plenty of options to scrap cards from their deck to produce powerful effects. That kind of resource control and extra power fit perfectly with the mysticism and determination within the Banuk tribes.
The most basic of these choices comes from Survivor’s unique profile card ability: ‘Pride of The Werak’. When the Banuk Survivor kills an adversary, they may scrap two cards from the bottom of their discard pile to gain additional glory.
Of course, you might be tempted to use it on every single kill. Not to mention the Survivor’s deck is littered with similar effects, giving you the option to take regular risks for powerful results.
However, if you use too many—or use them too early—the Banuk’s deck size will drop low enough that they’re constantly at risk of fainting and losing all their glory.
Still, when managed correctly, the Survivor is a powerful hunter that rewards calculated risks.
So, Which Hunter Will You Play?
Thanks, Steve!
Now it’s your turn:
Which of the four hunters will you try first? Let us know in the comments!
And don’t forget to join us for the next Hunter Series update, in which Steve will be back to talk us through the Nora Scavenger and Nora Trapper.
Until next time, Seekers…


 .
. . Un peu comme un marchand de fruits et légumes en fin de marché, il faut que ça parte.


 . Dis comme ça, ça ne donne pas trop envie
  - Alors, on ouvre la boite?")

